FROM SKETCH TO VECTOR PATTERN TO FABRIC: TOP TIPS FOR REPEAT PATTERN DESIGN.
Want to learn how to use your pencil sketches for your vector repeat pattern design motifs? Here are my top tips on how to create your sketches, organize them, and use them for your vector repeat pattern designs in Adobe Illustrator or for any surface pattern design type and software.
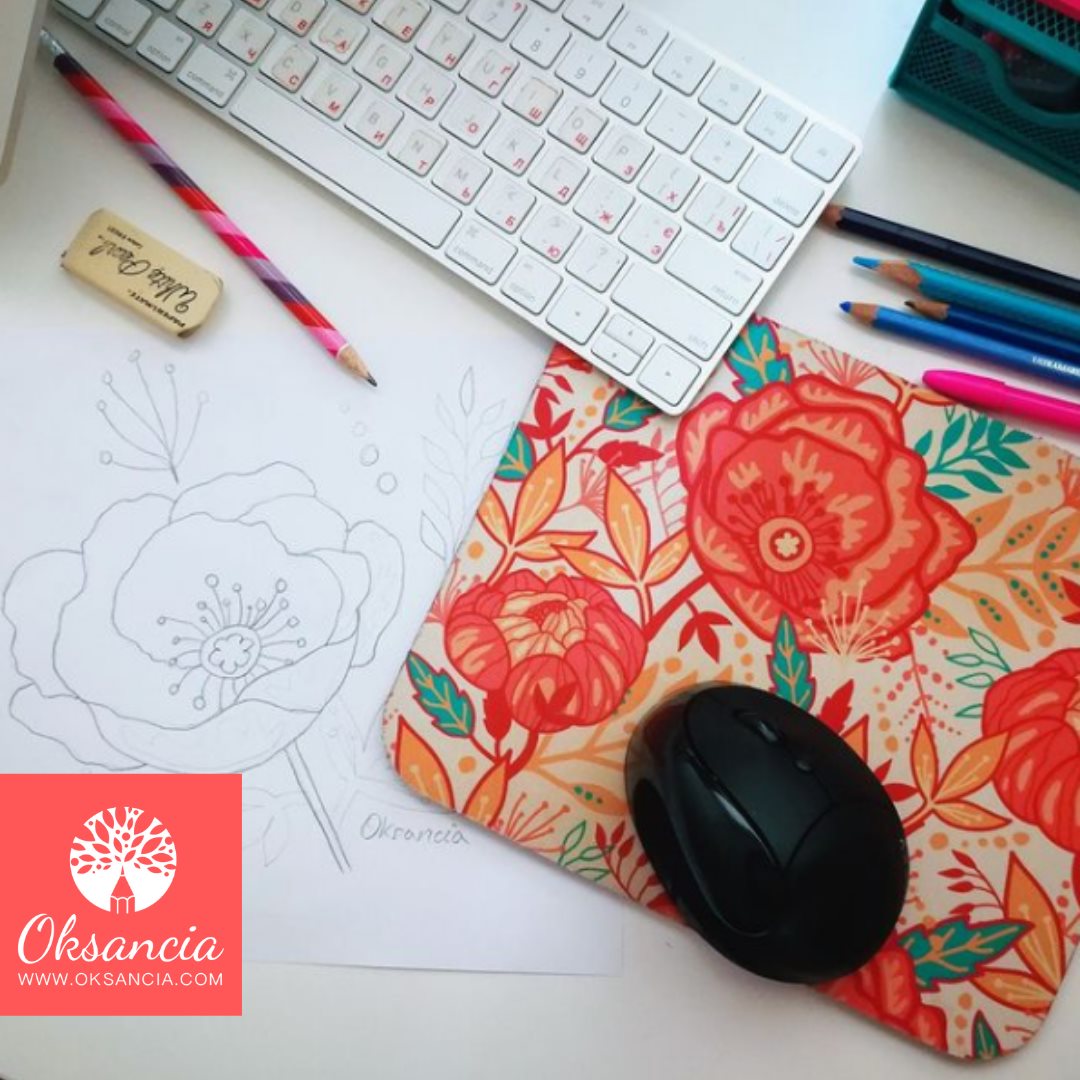
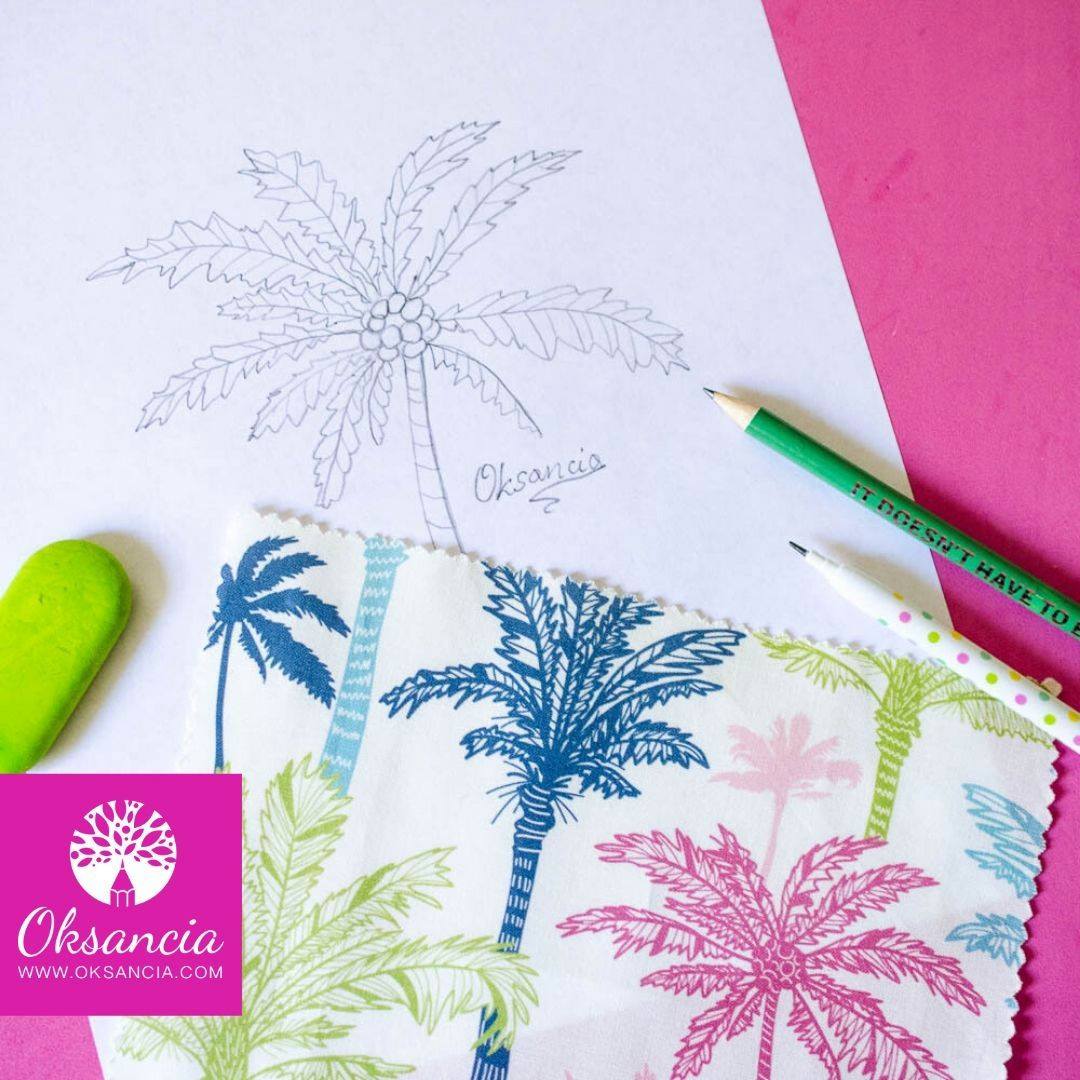
In this video, I talk about how to draw and use your sketches and drawings as motifs or elements for your vector patterns. I share my advice about how to organize and save your sketches and show lots of examples of how my sketches look on Spoonflower fabric for your inspiration 🙂
MENTIONED IN THIS VIDEO:
★ BONUS EBOOK: TOP 15 VECTOR PATTERN COLOR TIPS: Want to learn how to use color effectively in vector repeat patterns for sale online? Request my bonus eBook here.
★ How to turn a sketch into a vector in Adobe Illustrator. How to draw vector leaves tutorial
★ How to live trace in Illustrator. Turn a sketch into vector elements Adobe Illustrator CC tutorial
My best tips on how to create sketches for your motifs for better pattern design.
I have been creating a lot of pattern designs over the last 12 to 15 years and before that, I created illustrations for children’s books and for general purposes. That’s why I have created lots of sketches in my day, and some illustrations and patterns I did not create sketches for – I just drew them directly in Adobe Illustrator. It took a few years and some skill, but I actually enjoy creating sketches for my designs.
In this video, I will show you some of my already created projects to give you inspiration. Please note that these are just for general inspiration and ideas for your own art and I hope you will feel inspired. So, here are some examples of the sketches that I have collected. I like to have them on loose papers. Some of them are much older, for all kinds of different fabrics, and I will show you some of the fabric sketches that I have.

Tip number one is to draw your elements with a visible and contrasting line.
You can use pencil or pen, but make sure they are easily visible on the page. This way, when you take a picture or scan them, you can either live trace them in Adobe Illustrator to keep the sketchy feel or hand trace them for smooth results. I have tutorials on this channel for both purposes, and I will link them down below.
Tip number two is to draw your elements separately on a page with some space between them.
This makes it easier to copy them, especially when you have to transfer them to create elements based on them. When you auto-trace them in Adobe Illustrator, it can be hard if they overlap, and the texture might not match.

Tip number three is to draw all the different elements for different collections on separate pieces of paper.
Organize them together in Photoshop or take a picture of all of them on one page. This way, if they work with one particular collection, you can keep them organized and relate them to the collection. These sketches can be very useful in the future, for example, if you need to show them to a licensing client.
Tip number four is to name your sketch files and keep them organized.
Label the JPEG or PNG files that you scan or take pictures of with descriptive names, so you can easily find them in the future.
I hope these tips help you in your pattern design journey! Remember, the most important thing is to have fun and enjoy the process. Happy sketching!
Thank you so much for watching!
Grow, love, and create.
Oksancia


Recent Comments