Blog Post: Creating a Vector Fabric Collection: A Time-Lapse Journey
Hello my amazing creative friends, Oksancia here again! Today, I wanted to take you through a time-lapse journey of how I created my vector fabric collection. This collection currently has only two patterns, but it all started with a reference photo that I took in my garden in San Diego.
I loved the interesting shapes of the flowers in the photo and decided to create a sketch on paper. From there, I began creating the shapes and outlines in Adobe Illustrator CC. As you can see in the video, the shapes are not super even. I like to work in rough shapes and don’t clean up as I go at first. I base my lines on the sketch loosely, using it more as a guide than anything else.
I drew the sketch during my pattern group coaching membership live co-working call. We do this monthly inside of my Membership over at Oksancia Textile Design School. In the following weeks, I cleaned up the lines and made sure they were smoother. I grouped every element, and then began coloring them using the paint bucket tool in Adobe Illustrator.
I had no specific idea in mind for the coloring, but I used my Oksancia brand colors, which I use for my online school and many designs, because I like the consistency of the brand colors. I kept coloring all the little petals, and then moved on to the leaves and the little buds.
I added dots, but the lines were too thick, so I deleted them. I then decided to remove any close to horizontal lines except for one in the elements, and made them a little more diagonal. This helped the leaves and buds flow together better in the pattern.
I was using the Adobe Illustrator actions that I created for myself, and that I teach in my Pattern it Up online course. If you’re wondering what those actions are, they’re made by me and you can download them if you’re a student of the Pattern it Up online course.
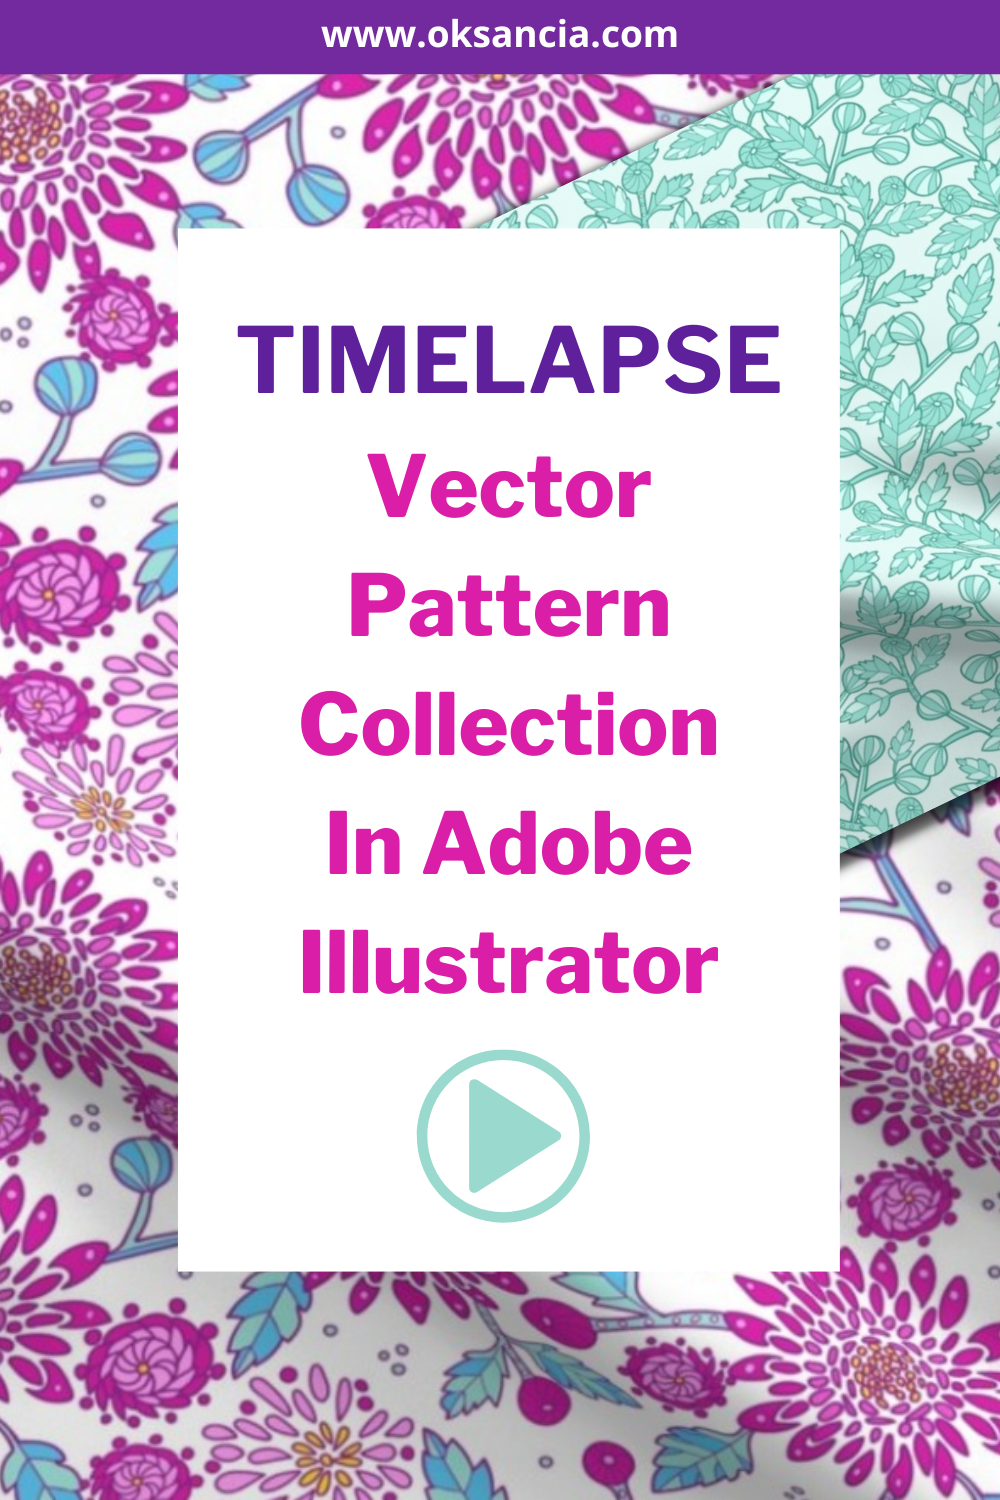
Pin this image for future reference:

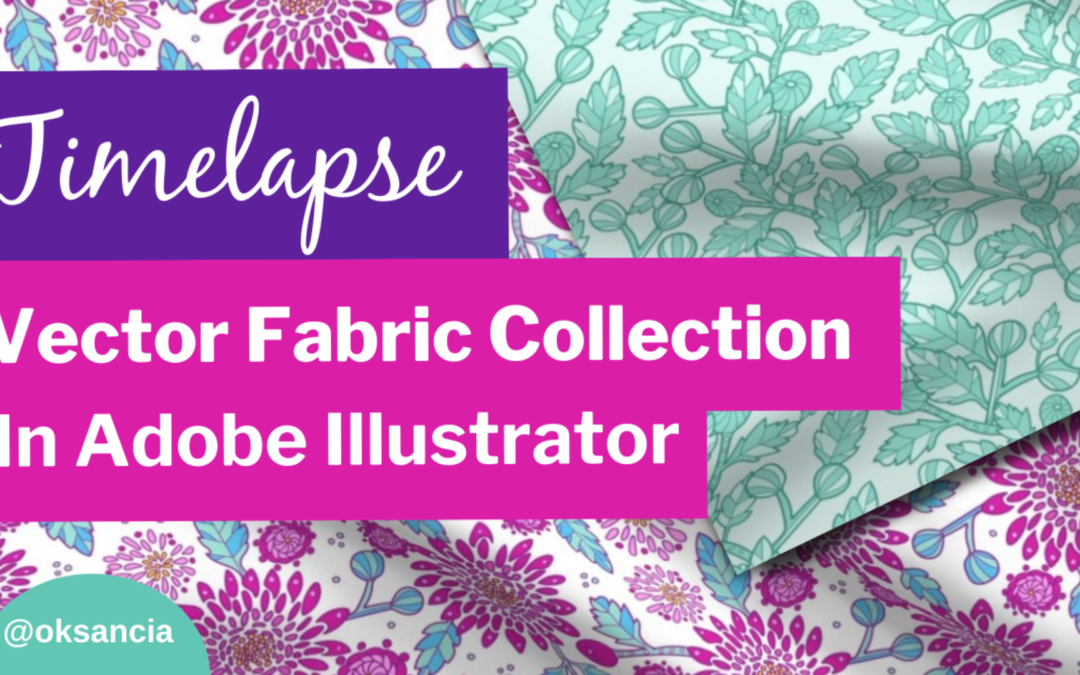
In the end, I had to fix a few things, like a piece that was sticking out too much, but I just went back and forth and tested it on a large circle using an action to speed up the process. I then took some of those leaves and buds and recolored them to be blue and green, and then mostly mint green shades.
I decided to work on a textured, flowy botanical pattern to go with my first pattern. You can see in the video that I put everything together randomly, filling up empty spaces, and using the separate elements or the clusters of elements that I originally created to stack them behind each other.
If you have an overlapping pattern like this, where every little branch and leaf has to grow out of each other, it’s a good idea to be very careful and repeat everything a few times to make sure everything is correct.
And there you have it! The final result is a beautiful vector fabric collection that I am very proud of. I hope this time-lapse journey has inspired you to create your own vector fabric collection! I am planning to add to this fabric collection more patterns over time.
If you’re interested in learning more about vector fabric design business, I invite you to watch my free webinar recording. Click here to request it. I can’t wait to see you there!
Grow, love, create!
Oksancia
MENTIONED IN THIS VIDEO:
★ Pattern Group Coaching Membership to study my Create Your Logo Watermark online course + great bonuses inside of the Membership.
★ FREE WEBINAR: 3 Secrets To Running a Creative Lifestyle Business Designing Vector Repeat Patterns. Register for free here.
Free On-Demand Webinar
3 Secrets to Building a Successful Lifestyle Business Designing and Selling Repeat Patterns
Learn how to start designing and selling your own vector repeat patterns without a special degree or experience.


Recent Comments