How to use a graphics tablet with Adobe Illustrator. Getting started guide.
In this video, I talk about how to use a graphics tablet with Adobe Illustrator. Getting started guide to drawing vector graphics in Adobe Illustrator using a Wacom Intuos Pro digital pen and touch tablet. We will learn how to draw in Adobe Illustrator using a tablet.
LINKS I MENTION IN THIS VIDEO:
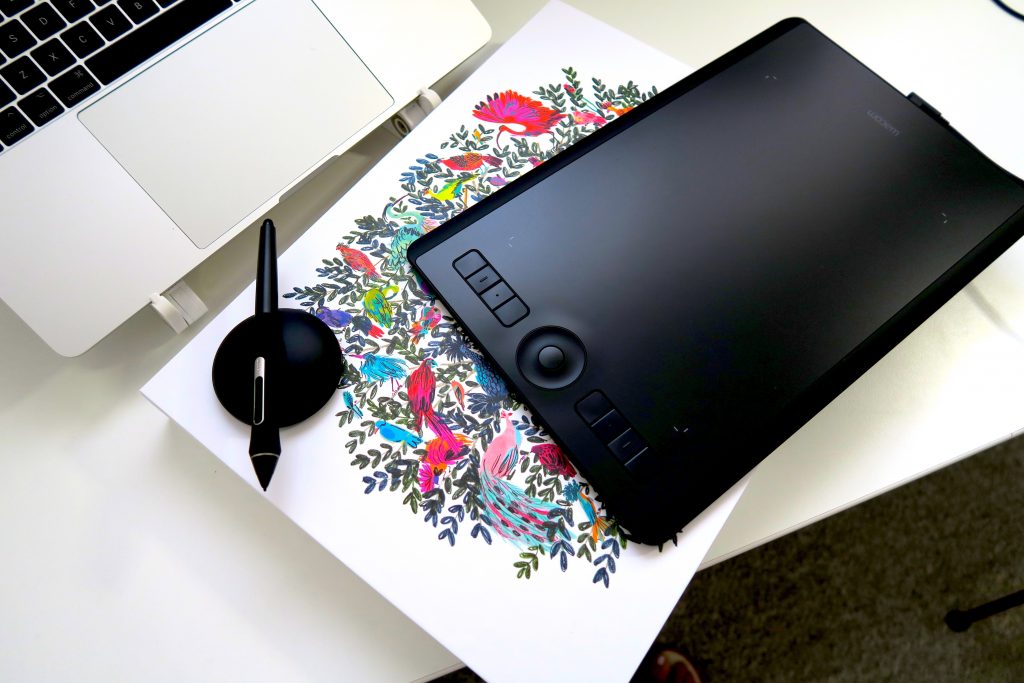
★ TABLET: Wacom Intuos Pro Medium pen and touch
★ BONUS WORKBOOK: GROW YOUR PATTERN PORTFOLIO 15x FASTER: Want to learn my system for growing your repeat pattern portfolio 15x faster? Request my bonus workbook.
__

If you are learning how to use a graphics tablet with Adobe Illustrator, then this getting started guide video is for you.
I am talking about:
1) Tips for beginner Wacom Intuos Pro users.
2) Getting started using your Wacom Intuos tablet in Adobe Illustrator. Do you need to create any special setup?
3) Which reference image to use and how to place it in Adobe Illustrator.
4) How to draw using Blob Brush and digital graphics tablet in Adobe Illustrator. How to draw a flower in Adobe Illustrator.
5) How to fix mistakes while drawing in Adobe Illustrator.
INSTRUCTIONS:
1. Welcome and today I am going to show you how to get started using a digital graphics pen tablet for drawing vector graphics in Adobe Illustrator.
2. This is the tablet that I am using: Wacom Intuos Pro Medium pen and touch.
I used an older version of it as well for 6 years.
3. Check out unboxing + studio setup videos + Intuos vs Cintiq videos in this playlist.
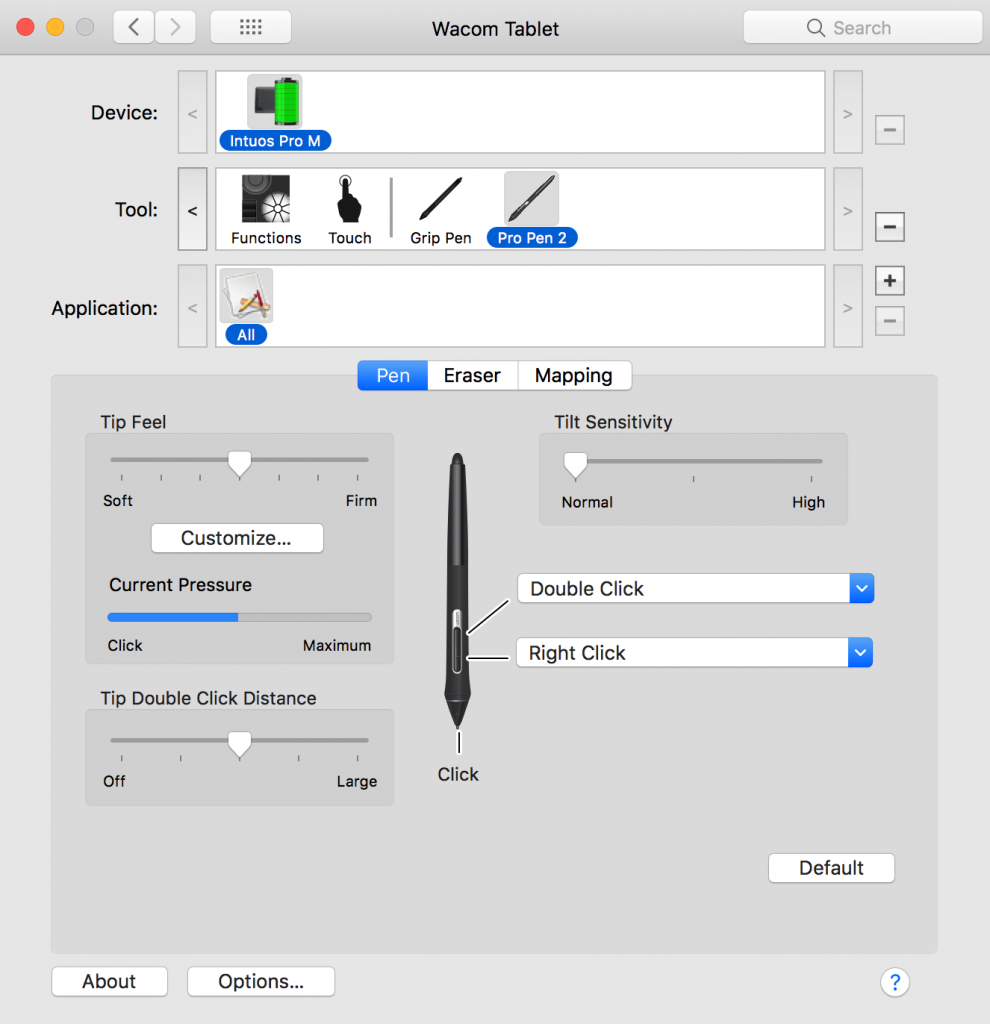
4. Set up your tablet according to the instructions. Refer to my Pen setup for drawing. You can set it up in System Preferences – Wacom Tablet settings (MAC).
5. Open Adobe Illustrator. I use Adobe Illustrator CC 2015 on a Mac computer.
6. Start a new document in Adobe Illustrator.
7. Find your reference material. I recommend using a photo of flowers from free for commercial use photos website to be able to use your elements in future projects and license them online or for future customers. You can use a photo of your own sketch as well. Photo reference website I am using.
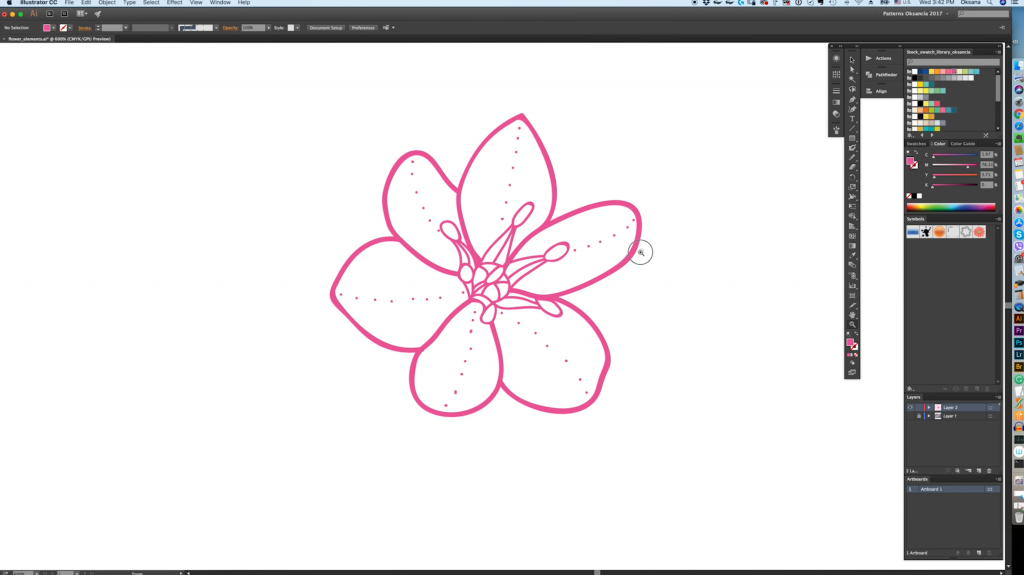
8. Pick Blob Brush tool as it will be the easiest to understand and start using. Increase complexity by learning Brush Tool and Pen Tool over time.
9. Start drawing the main outlines of your element.
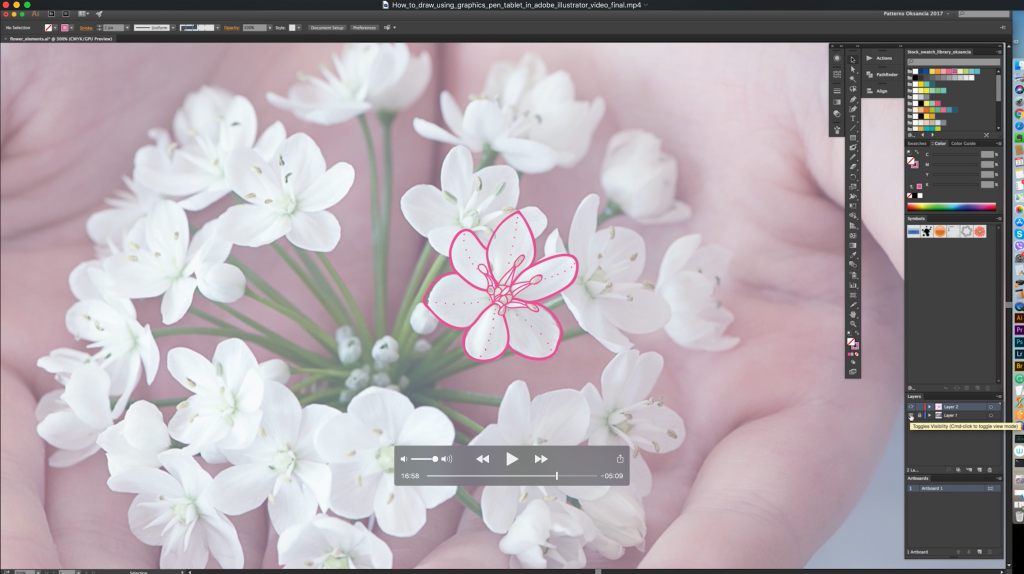
10. Decrease the size of Blob Brush to draw smaller details. You can start with no pressure setting to make it simpler to begin using your tablet and try out pressure settings if it suits your style.
11. Use Eraser Tool if you use the rounded end of your pen.
12. Group your elements.
13. TIP 1: You can use your tablet as a mouse for basically anything you do on your computer. this will help you become proficient in drawing using your tablet much faster.
14. TIP 2: You can still use a mouse for scrolling, right-clicking, and some more geometric work in Adobe Illustrator if you prefer.
15. You can customize the setting of your drawing tablet and set up buttons on your tablet to perform different actions on your computer and in Adobe Illustrator specifically. I will create a video of how I have my Wacom Intuos tablet set up for vector repeat pattern design. You don’t have to customize them if you don’t want to and if you do, adjust the setting to how it makes sense to you. There is no one correct setup.
16. Increase complexity of your elements daily of weekly and try other tools in Adobe Illustrator to improve your skills.
17. Use your elements as illustrations or in a vector repeat pattern design. Here is my video how I create repeat patterns in Adobe Illustrator: watch here.
18. Please be patient with your graphics pen tablet and you will get used to it and will love it.
Hope this video was helpful for you to get you started learning how to use a graphics tablet with Adobe Illustrator. Thanks for watching!
*Disclaimer: If you purchase the products or subscriptions recommended by me through my affiliate links I get a small compensation. This helps me create more videos for you! Thank you so much for your support! 🙂


Recent Comments