Video tutorial: How to design your own fabric. Step-by-step guide.
By Oksancia, owner of Oksancia Textile Design Studio, 21 June, 2018
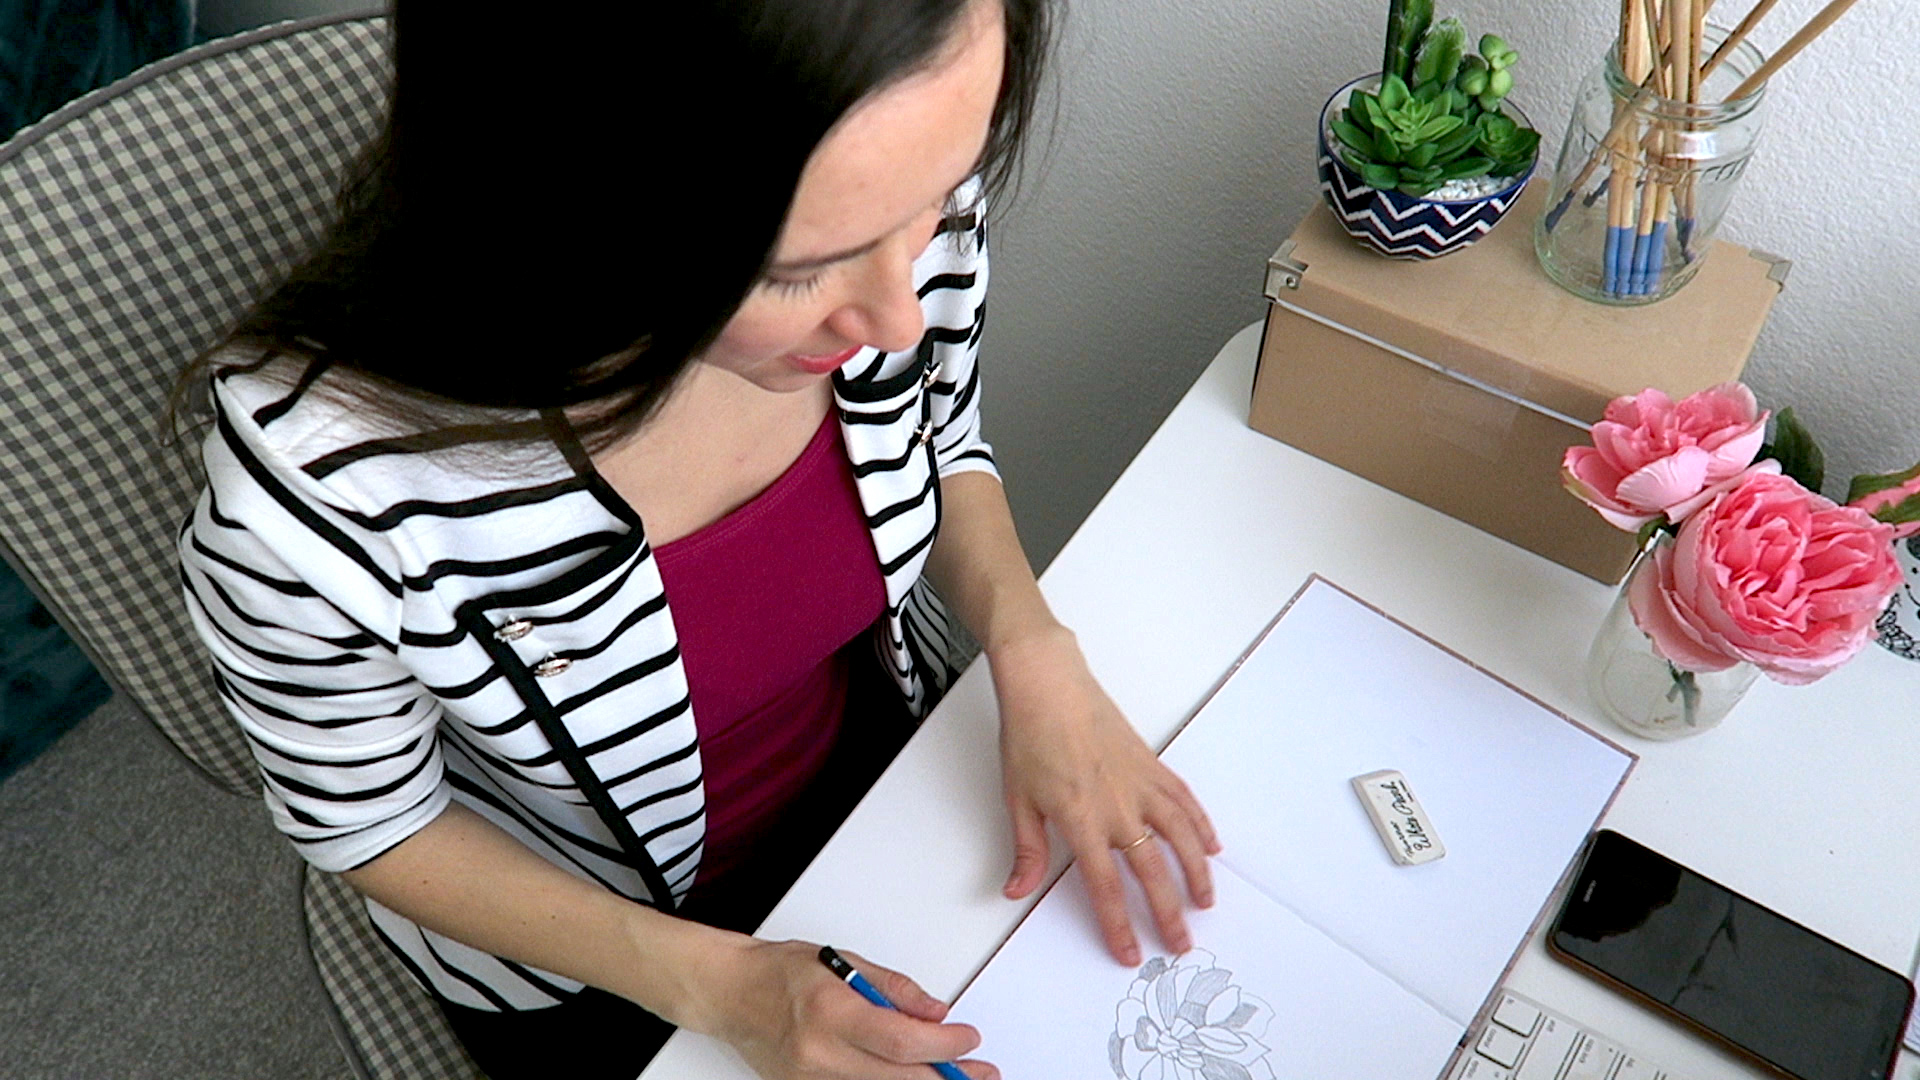
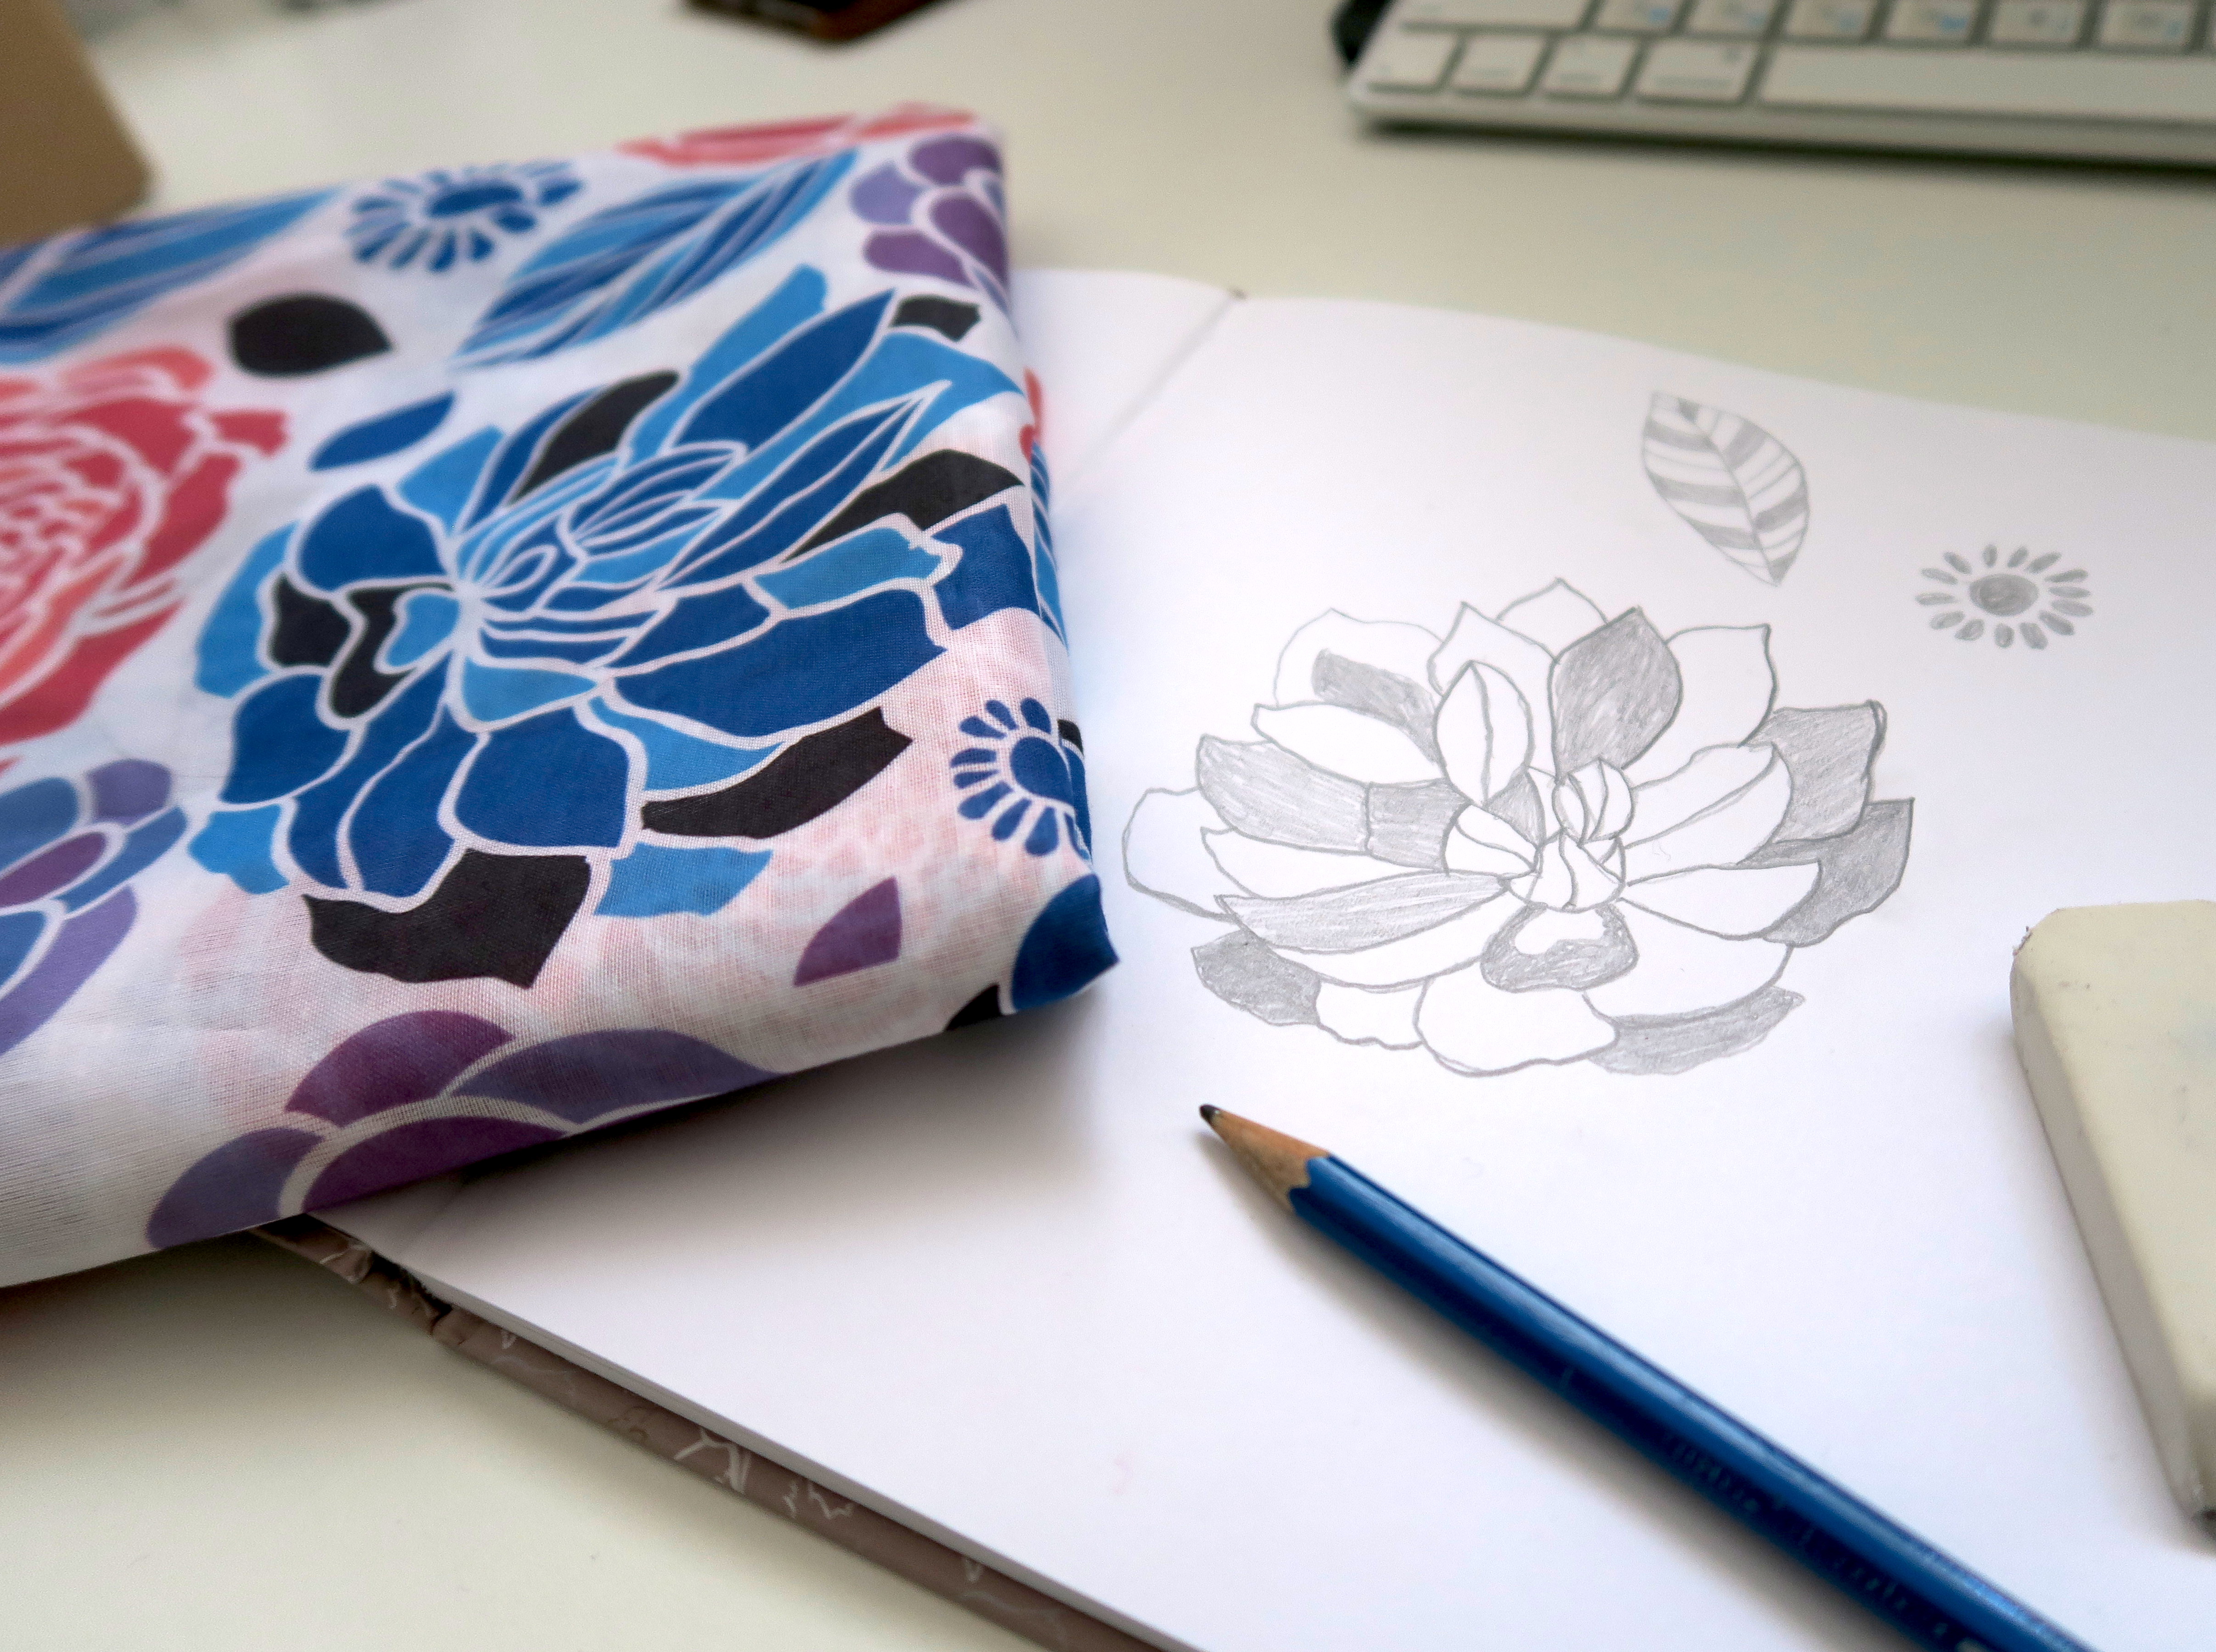
It is so exciting to hold your own fabric that you designed in your hands! It is even more exciting to create something awesome with it and see it being used and enjoyed. In this video tutorial, I am showing step-by-step how to design your own fabric in Adobe Illustrator. I take you from your idea, to sketch, to your digital fabric pattern elements, to finished repeat pattern tile, to uploading it to Spoonflower, and to ordering it online to have it shipped to you.
BONUS PDF Guide Checklist
I also created a bonus PDF checklist ebook with recommendations and link mentioned in this video. You can request it here:
I talk about:
- How to pick a topic for your fabric design. What to consider.
- How to create a sketch of your fabric elements.
- How to create digital vector elements for your fabric design in Adobe Illustrator.
- How to create a repeat pattern tile.
- How to save a JPG file for upload to Spoonflower website.
- How to order your new fabric design on Spoonflower.
- An opportunity to post your fabric design for sale on Spoonflower and start making income with your creative work.
Designing your own fabric can be a fun and fulfilling experience. Whether you are creating a scarf, blanket, or clothing item, there are a few important steps to consider when designing your own textiles.
- Determine the Topic: Before you start designing, consider the purpose of the fabric. What are you designing it for? If it is a scarf, think about the colors and style that fit your personal preferences. If it is a blanket for a baby, consider the gender and room color scheme. If you plan on selling the fabric one day, consider the industry it will be designed for.
- Create Your Elements: Start by sketching out your design elements, whether it’s flowers, leaves, or any other design you have in mind. You can then recreate these sketches in Adobe Illustrator, Photoshop, or any other graphic design software you prefer.
- Arrange Your Elements: Once you have your elements, arrange them in a seamless manner to create a repeat pattern tile. This is the basic unit that will be repeated to create the overall pattern.
- Save as a JPEG: Once you have your pattern created, save it as a JPEG file to use when producing your fabric.
- Select Your Fabric Type and Order: Finally, select the type of fabric you want to use and place your order. You can choose from a wide variety of fabric types, such as cotton, silk, or linen, and have it produced to your specifications.
By following these steps, you can turn your fabric design ideas into a reality and hold your custom-designed fabric in your hands. So, stay tuned and get ready to create your own unique and amazing fabric!
If you are interested in selling your repeat pattern designs, I have a handy guides and videos about designing and selling your designs online as well as working with freelance fabric designs customers. Please join our email community here and I will email my best resources to you 🙂
I hope you enjoyed learning about how to design your own fabric in Adobe Illustrator. I am so excited for you as it is a very satisfying project!
#GrowLoveCreate
Oksancia

About Oksancia
Independent Textile Designer and Owner of Oksancia Studio and School
#GrowLoveCreate